If you are thinking about installing an aluminum window yourself, make sure to follow the recommended steps so that window will work properly. Window installation is not a job for beginners. Knowledge about woodworking is helpful. Understand the concepts of being square and level. Measure the coarse hole and make sure to use washers. If you’re in doubt about your expertise, please find experts in aluminum joinery near you.

Examine the Window
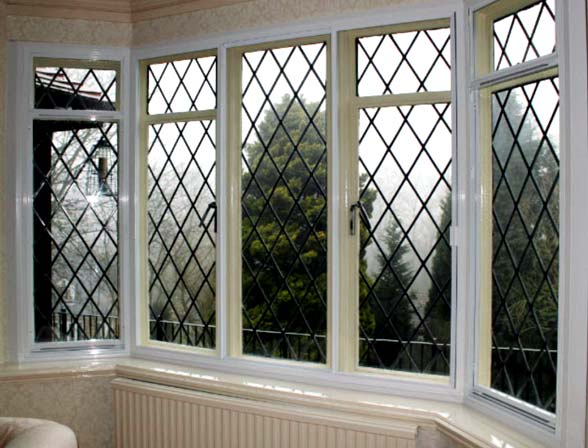
Make sure it is the right size and shape. Use a measuring tape to verify that the window matches the packing slip or invoice. Also, check for damage such as cracks, crevices, or twisted frames. Rounded corners can usually be bent with pliers. Lastly, double-check the nail fin to make sure it is securely attached to the window unit. This is the main window-fixing element.
Make sure your Window is Square
To confirm the window square, diagonally measure the window in both directions. If the dimensions are unequal, do not install as it means the window is not square.
Remove the Packaging
Remove the packaging from the window unit and wipe the frame clean with a cotton cloth. Examine the lock to be sure it works properly. Leave the device in a locked position for installation.
Seal the Gaps
Among the easiest DIY projects is sealing gaps. For window installation, use a sealed silicone gasket for any gaps in the frame, being careful not to seal the working area of the window.
Read the Manual
Check the window’s manual to see if spray adhesive is required. Apply a thin layer of aerosol glue to the rough hole of the window frame. Do not spray the glass. After turning on the spray glue, apply a 3 x 3-inch adhesive piece that flashes in each upper corner of the frame.
Prepare the Window Sill
The window sill tray drains water from the window and helps prevent water damage. It is three-sided and made of sheet metal. The window should sit on the shelf. Follow the manufacturer’s instructions to properly cut, bend and adjust the size of the window sill pan. There should be an extra inch to batting outside the rough hole.
Prepare a Rough Hole
This is a riveted scaffolding with a window that should be 1/2 to 3/4 inches wider and higher than the window frame. Check the uneven hole in the square when the window is open. Use a spirit level to check the level and riser opening. None of the horizontal and vertical measurements should exceed 1/16 inch for two feet of the rough hole and should never exceed 1/8 inch. The coarse hole has double studs for reinforcement. If there is a building boundary around the rough hole, pull 3 inches away from the rough hole.
Install the Key Panel
Apply glue spray 3 inches from the edge of the swingarm panel and 6 inches along the sides of the rough hole next to the swingarm panel. Close the corners of the keypad with an adhesive collar. Cut the flashing to the size of the window sill bowl, attach it to the bowl, and attach the plastic drain filter, if available.
Which Side Is Out?
Check the window and set it right side up and right side out. Then look for the position of the tear holes. If your window is positioned correctly, the tear holes will be pointing outwards.
Place the Window in the Thick Hole
Check the square and perpendicularity. If the window is not square or perpendicular, adjust the position to compensate with wooden panels. Attach the window to the rough hole by passing the nail 3 to 7 inches from the corner through the fin. Leave some slack so that you can adjust the washers before you complete it. Check the washers again at a square and perpendicular angle. After making sure that the window is in the correct position, apply pearl sealant around the washers.
Test the Window
Test the window to make sure it opens and closes and the lock works before you fully secure the frame. Fasten nails and apply a sealant to all seams and window units.
Drip Attachment
Attach the drip attachment to the header while maintaining a 1/8-inch overhang on both sides. After that, completely seal the nail fin with spray glue. Be careful not to spray the adhesive on the glass. Attach the self-adhesive cover to the outside of the window frame and pull the building envelope over the cover. Check the peel holes to make sure they are not blocked.
You can now take a step back and look through the entire window. If there are no loose ends, the installation is completed. Follow the steps above for a seamless aluminum window installation.