According to recent data, home sales in 2015 have gone up in Louisville over the last few years. While this is great news overall, it carries with it the risk of listing agents getting sloppy with their marketing techniques. After all, if homes are practically “selling themselves” that doesn’t leave much incentive for agents to give it their best, does it?
Interestingly, while home sales have been increasing the actual selling prices have been slowly declining. Bad real estate photos have to play a part. I think it shows that it is more important than ever to focus on good marketing techniques that will generate the highest selling price for your home.
One of the most important aspects of marketing is the visual presentation. This holds especially true for real estate. Your agent should be utilizing photography techniques that will capture your home in the best light and from the best angles.
So, how do you tell if your agent is skimping where it matters the most?
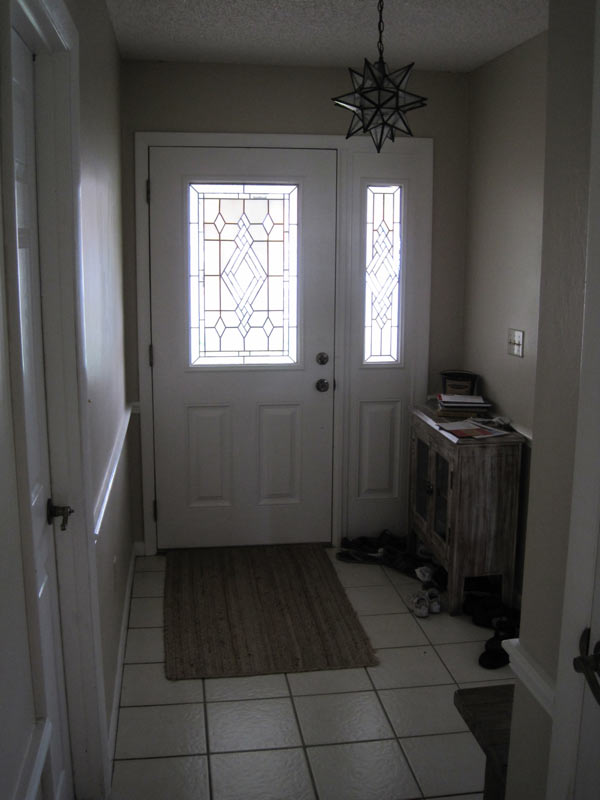
If your agent doesn’t want to use a professional Louisville photographer, direct them to these pro tips for better real estate photos. Then at least your home will look better than the photo above!
Tips for Better Real Estate Photos #1: Stay Out of the Photo
Can you imagine flipping through a Pottery Barn catalog and seeing the reflection of a photographer in one of their high-end mirrors? It’s not going to happen. Ever!
It is a huge no-no for any trace of the photographer (or their equipment) to be visible in the photograph. Interior photography that is being used to market a home is not the place for selfies.
Having a person in the images is a major distraction for potential buyers who are trying to visualize themselves in the space. Then they see a stranger blocking their view. Bad form.
In addition to the photographer staying out of the photo in reflections, all other people (and pets) should be out of the frame as well.
Tips for Better Real Estate Photos #2: Use a Tripod to Reduce Motion Blur
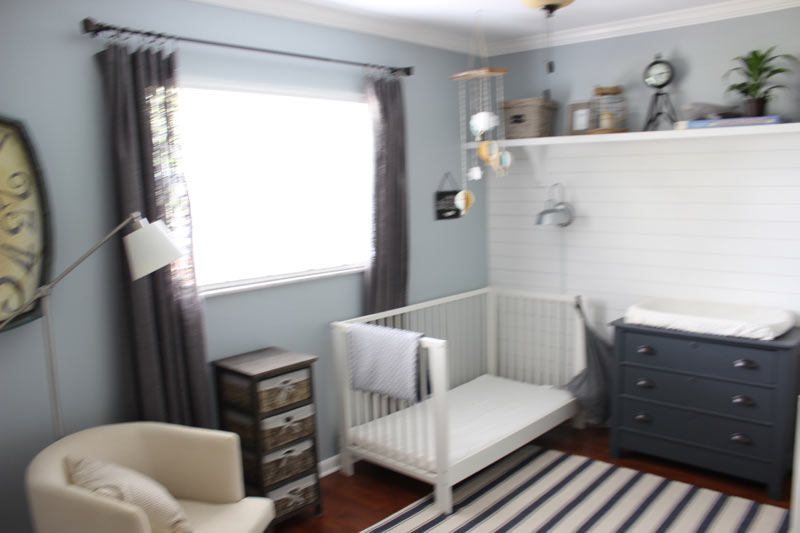
Real estate photography is one genre of photography that absolutely requires the use of a tripod. Being indoors greatly reduces the amount of light that the camera’s sensor has to work with. Taking pictures handheld will almost always produce a blurry photo.
Use a tripod to stabilize the camera. This creates a sharper image, assuming that the composition is properly focused. For even better results, the shutter should be triggered using a timer or a remote cable release to completely eliminate any movement of the camera.
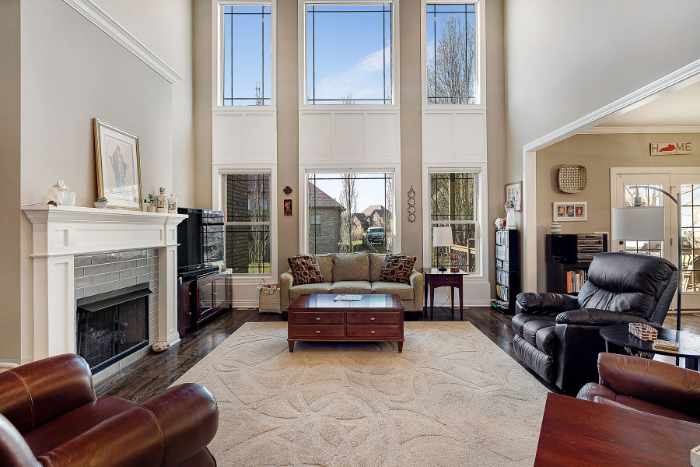
Tips for Better Real Estate Photos #3: Keep Vertical Lines Vertical
Our eyes and our brain work together to help us process the world around us. As we look up or down, distortions are automatically corrected; vertical and horizontal lines moved to proper perspective. However, a camera lens is not as sophisticated. When not positioned correctly will introduce distortions known as “converging verticals.”
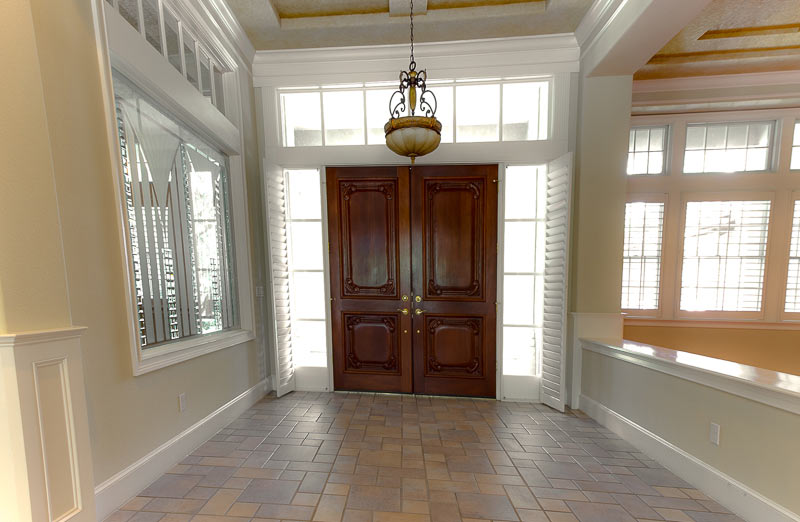
If you were to draw lines on the vertical lines in the photograph above (door, windows, and column on the far left) and continue drawing them out of the photograph, you would see that eventually they would intersect or converge.
This creates a visually unappealing image that does not reflect reality, well… unless your home is about to collapse.
Check out the same scene when the camera positioned properly.
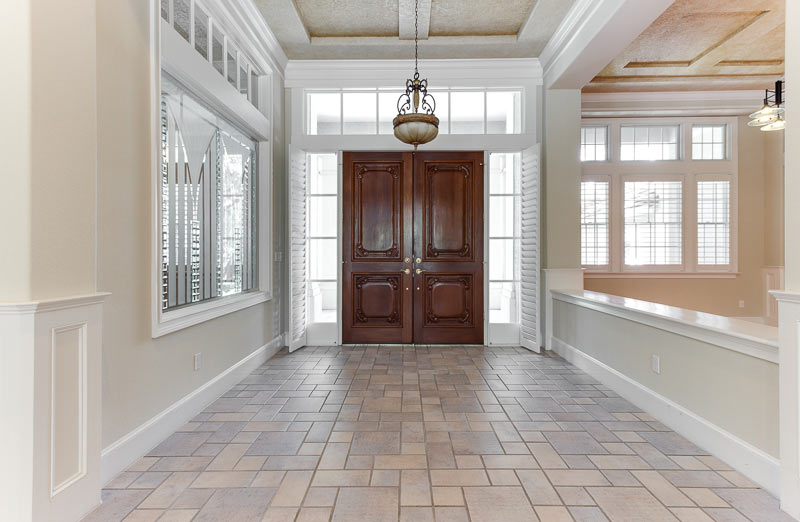
Much better right?
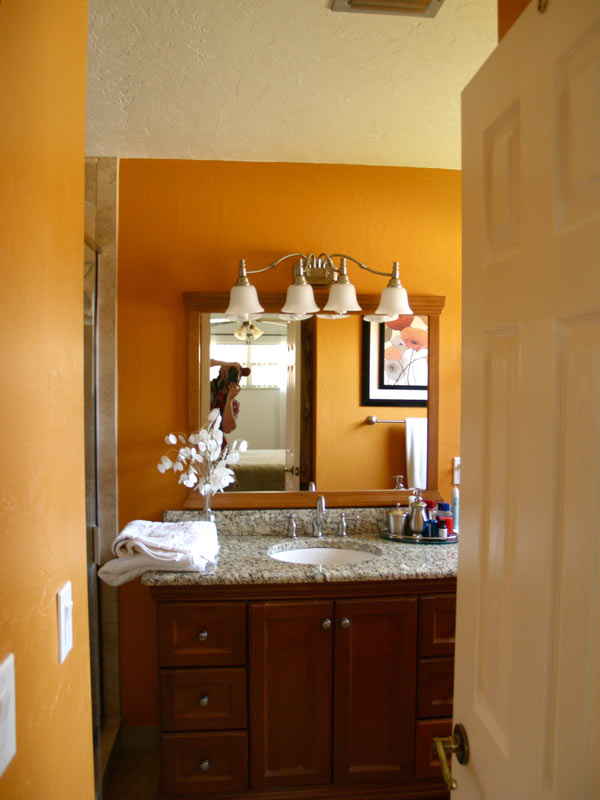
Tips for Better Real Estate Photos #4: Use Correct White Balance Settings
Getting the correct white balance can be extremely tricky when taking interior photos. There is often a wide array of light sources (daylight, CFLs bulbs, Tungsten bulbs, etc.) competing with one another that can cause some seriously bad effects.
To get better looking real estate photos, the photographer should have a good understanding of what settings to use on the camera for each situation. He should also know how to correct more complicated issues in post-processing.
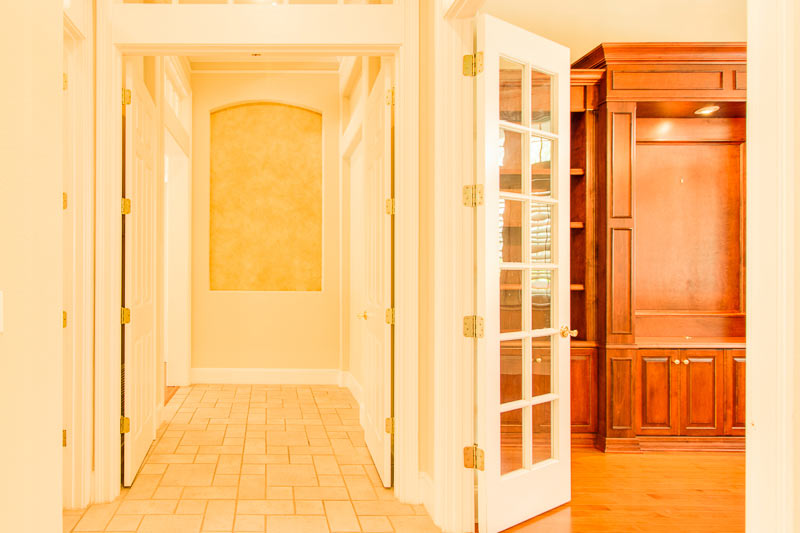
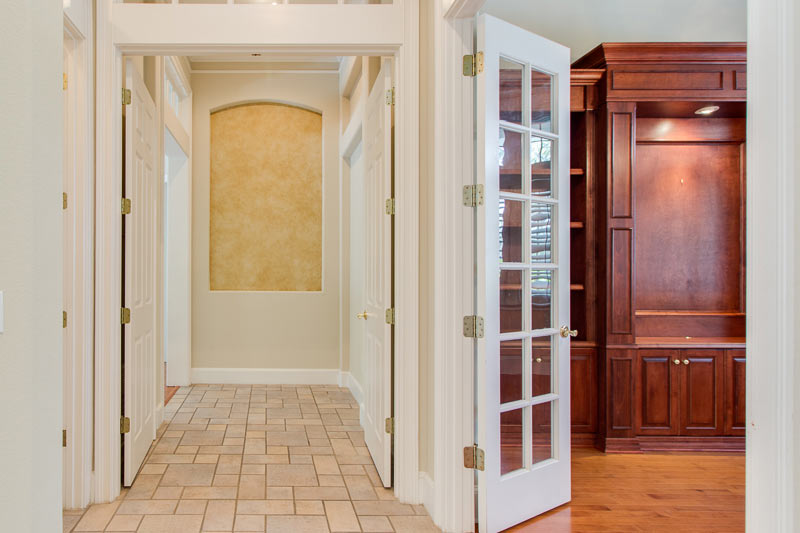
Although the exaggerated white balance in the example above should always be avoided, “proper” white balance may sometimes be subjective. For instance, modern homes might look better on the cooler side, while a villa in the country might look better with slightly warmer tones.
Tips for Better Real Estate Photos #5: Clean Up and De-Clutter
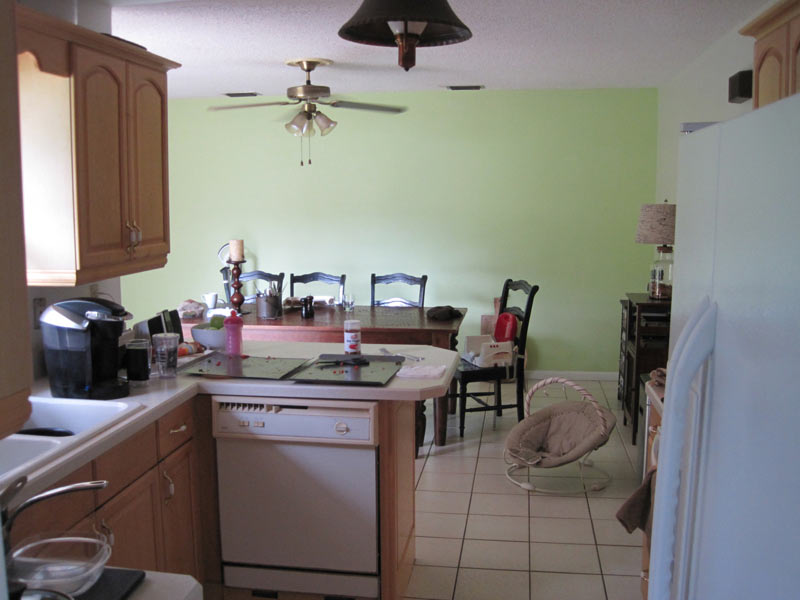
This one obviously falls on the homeowner, and it is extremely important! It never ceases to amaze me when I see photos of houses that have dishes in the sink, unmade beds, or just general clutter all over the place.
Your home is probably your biggest investment. The listing will be seen by hundreds or even thousands of people across the internet who might be interested in buying it. Photos like the one above send up an immediate red flag. Buyers will then question the owner’s overall care of the home.
If the features of your home are outdated then the best thing you can do is to remove all clutter and make it look as clean as possible. Spend the time to do this before allowing your home to be photographed. The pay off will be tremendous when your listing goes active.